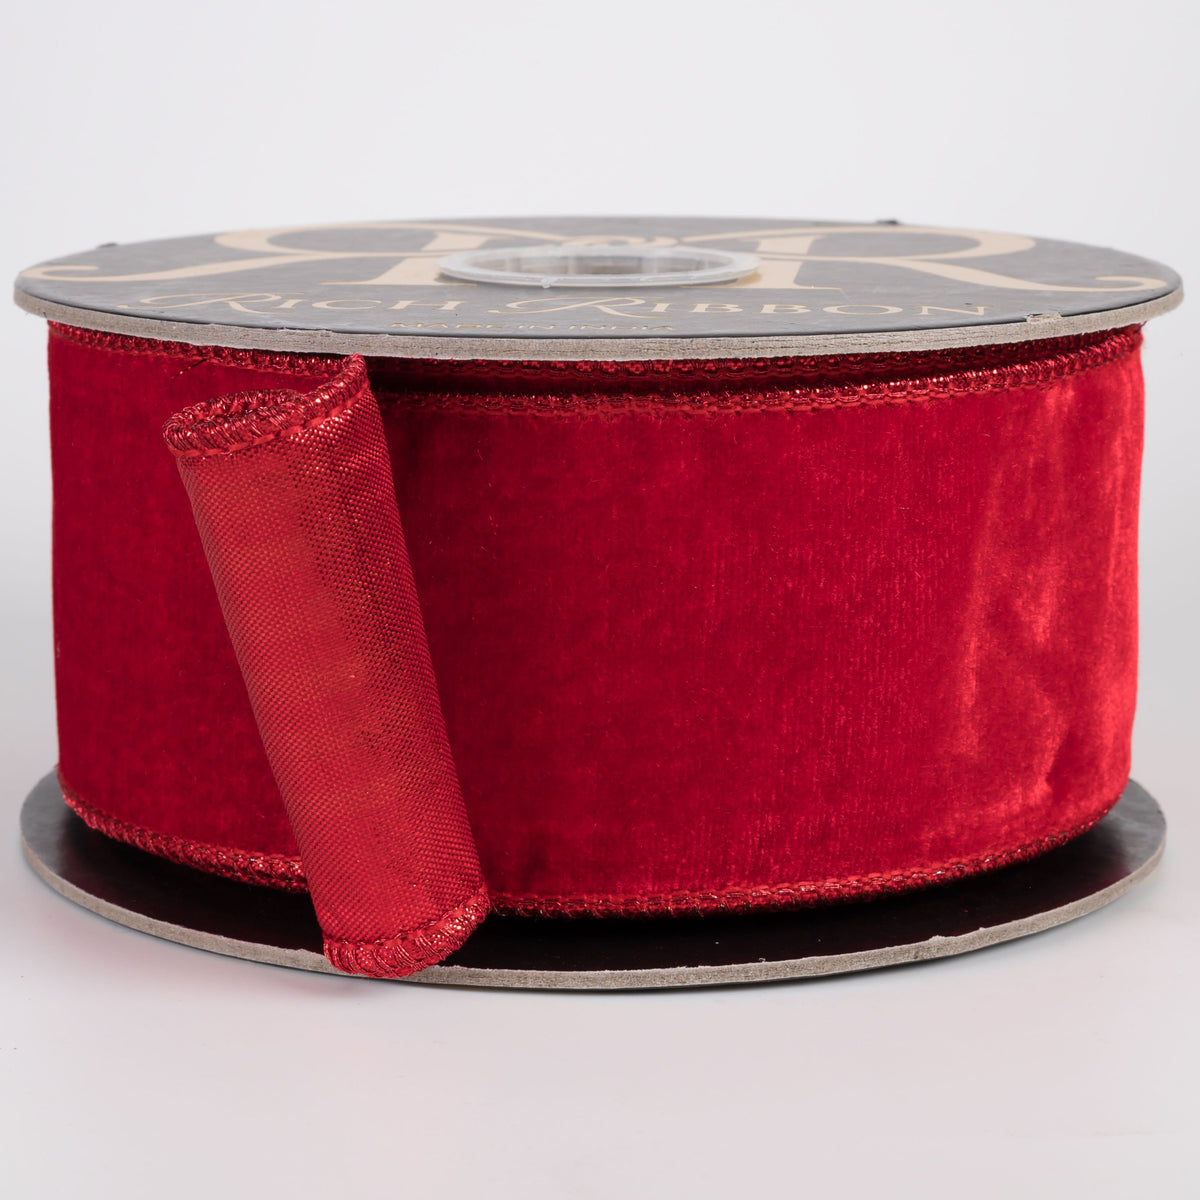
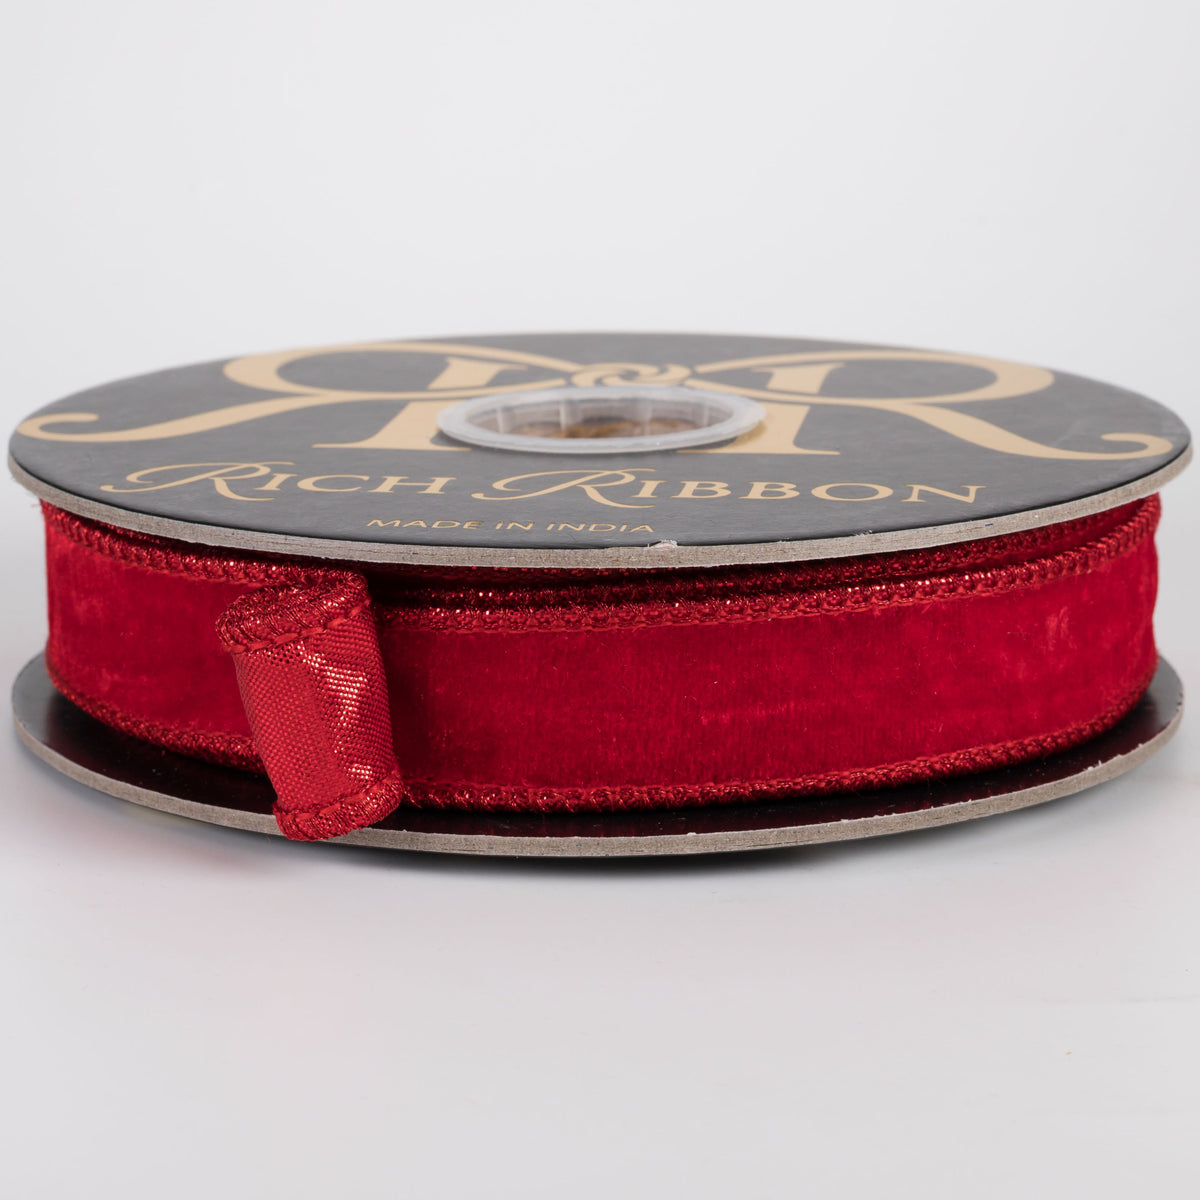
There is something about a beautiful, oversized ribbon bow that makes Christmas decorating feel extra special. Whether you're dressing up a Christmas wreath, decorating a garland, adding a finishing touch to a front door swag, or creating a statement for your mantel, the right bow can make all the difference.
But making a beautiful bow doesn't have to be complicated!
Today I'm sharing an easy way to make a gorgeous, full Christmas bow using Rich Ribbon™. And here's what makes this technique different: there's no twisting the ribbon to create the loops!
Instead, we'll use a simple folding technique to shape the loops, secure them with a little wire, and finish everything with a separate center wrap. It's an easy approach that creates a beautifully structured bow without all the fuss of traditional bow-making methods.
Watch the Tutorial Here:
Why I Love Using Rich Ribbon™ for This Bow
The ribbon really is the star of this project!
I'm using Rich Ribbon™ because its beautiful finish and wired edges make it especially lovely for creating a bow with shape and structure. The wire helps the loops hold their form, while the luxurious texture gives the finished bow that full, designer-style appearance. (And it's sold at an amazing price!)
When you're making a statement bow, the quality of the ribbon makes such a difference. You don't need a complicated design when you start with beautiful materials.
How to Make an Easy No-Twist Christmas Bow
Step 1: Cut Your Ribbon
Start with a 56-inch-long piece of Rich Ribbon™.
This gives you plenty of ribbon to create two generous loops and the tails of your bow. The exact length can be adjusted depending on how large you'd like your finished bow to be.
Step 2: Make the Bow Loops
Begin folding the ribbon to form your loops. Rather than twisting the ribbon as you would with a traditional bow-making technique, simply fold the tails over the center to make an X.
Adjust the loops until they are approximately the same size and you're happy with the overall proportions. Secure with a little wire.
For a double-loop bow, cut a 28-inch-long piece - this will give you two loops that are about 7" long (so the whole thing is 14" wide).
Make the ends meet in the middle, stack this set of loops with the first set and secure with wire.
The goal is to keep the loops in position without having to twist the ribbon back and forth. This is what makes this technique so simple!
Step 3: Make the Center Wrap
Cut a separate piece of ribbon for the center of your bow.
Fold the edges inward and glue them down to create a neat finished strip. Wrap this piece around the center of your bow and glue it in place.
This hides the gathered center and gives your bow a clean, polished appearance.
I've chosen to let the reverse side of the ribbon show in the center for a little added textural interest.
Step 5: Shape and Fluff Your Bow
Now for the fun part! Adjust the loops, shape the wired edges, and arrange the tails until everything looks just right. Dovetail or curl the tails' ends.
For a double-layered bow, just repeat the steps with a narrower width before adding the center wrap, and use a zip tie to keep everything together.
A Simple Bow-Making Technique with a Beautiful Result
I love finding easier ways to create beautiful Christmas decorations, and this is one of those techniques I think you'll use again and again, season after season.
You can use this easy ribbon bow for Christmas wreaths, front door swags, garlands, Christmas trees, gift packages, and so many other decorating projects.
If you've ever struggled with traditional bow-making or just want an easier way to create a full, luxurious-looking bow, give this method a try!
Sometimes it's not about making things more complicated. It's about finding a simpler technique and choosing a beautiful ribbon that does the rest.
Happy Christmas decorating!